
Cleaning After Renovation: Dust Settles Everywhere, Here's How to Tackle It
Finishing a renovation is exciting, but the cleanup that follows can be overwhelming. Fine construction dust has a way of finding every corner of your home, settling on furniture, inside cabinets, on window tracks, and even in air vents. Unlike everyday household dust, renovation dust often contains tiny particles from cement, drywall, wood, and paint that are harder to remove and can affect indoor air quality.
If you’re wondering how to clean your house after renovation, following the right process can save time, protect your surfaces, and help restore your home to a clean, comfortable space.
Why Renovation Dust Gets Everywhere and Where to Start
Renovation dust is much finer than ordinary dust, which means it stays suspended in the air for longer before settling across your home. That’s why even rooms that weren’t part of the renovation can end up covered in a thin layer of dust.
The biggest mistake people make is cleaning floors first. Dust naturally falls from higher surfaces, so you’ll end up cleaning the same area repeatedly.
Instead, work from top to bottom. Start with ceilings, light fixtures, ceiling fans, shelves, and walls before moving on to windows, furniture, countertops, and finally the floors.
Before cleaning, open windows where possible to improve ventilation. Wearing a mask and gloves is also a good idea, especially when dealing with drywall or cement dust that may irritate your eyes and respiratory system.
The Best Way to Remove Construction Dust
Removing renovation dust is about more than wiping visible surfaces. Fine particles settle into hidden spaces and can easily become airborne again if cleaned incorrectly.
Begin by using a vacuum with a HEPA filter to collect loose dust from floors, upholstery, and other surfaces. Unlike regular vacuums, HEPA filters capture much finer particles instead of releasing them back into the air.
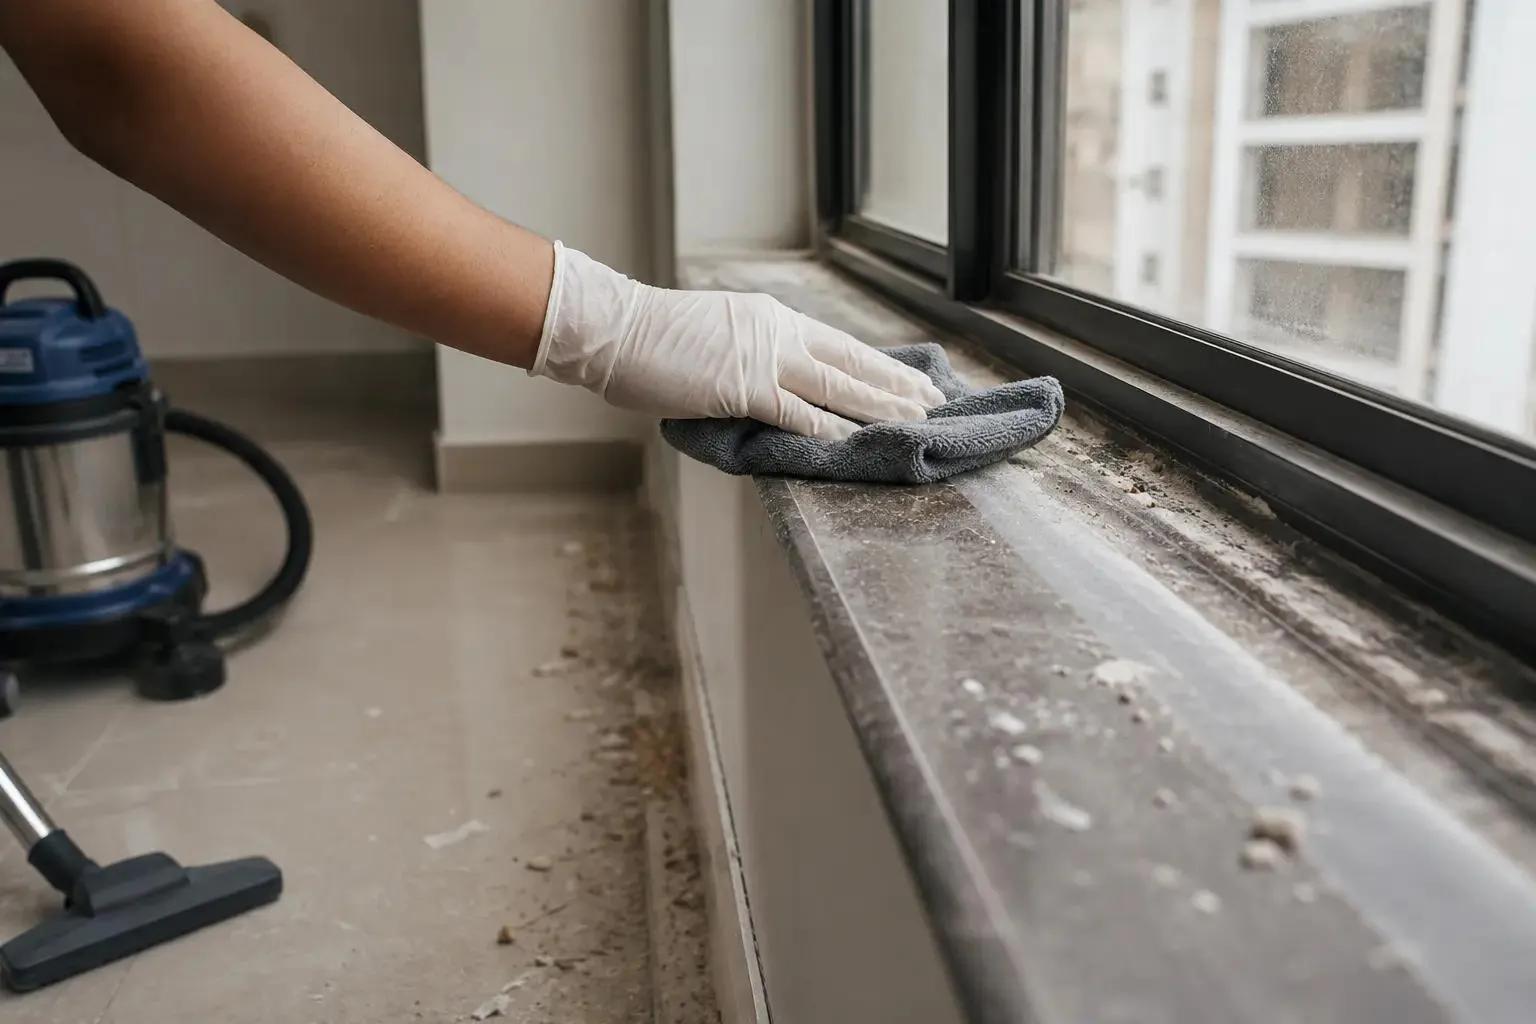
Next, wipe hard surfaces using a damp microfiber cloth. Microfiber traps dust more effectively than dry cloths, reducing the risk of spreading particles around the room.
Pay extra attention to areas that are often overlooked, including:
- Window sills and tracks
- Skirting boards
- Light switches and door handles
- Cabinets and drawers
- Air vents and exhaust fans
- Baseboards and corners
Finish by mopping hard floors with clean water and a suitable floor cleaner. Change the water regularly to avoid spreading dust from one room to another.
If your renovation involves sanding, cutting tiles, or concrete work, you may need to repeat the cleaning process more than once before all the fine dust is removed.
Common Cleaning Mistakes and When to Call Professionals
Even a thorough cleaning can fall short if the wrong methods are used.
Dry sweeping is one of the most common mistakes because it sends fine dust back into the air instead of removing it. Similarly, using feather dusters often redistributes dust rather than trapping it.
Another mistake is forgetting soft furnishings. Curtains, cushions, mattresses, and rugs can all collect construction dust and may require vacuuming or professional cleaning depending on the extent of the renovation.
If your home has extensive dust buildup, hard-to-reach areas, or lingering construction residue, professional post renovation cleaning may be the better option. Professional cleaners often use industrial-grade equipment, HEPA filtration systems, and specialised cleaning techniques to remove dust from surfaces, air vents, and hidden spaces more effectively.
This can be especially valuable after large-scale renovations where protecting indoor air quality is a priority.
Quick Post Renovation Cleaning Checklist
Before considering your cleanup complete, make sure you’ve covered these essential tasks:
- Ventilate the property.
- Vacuum with a HEPA-filter vacuum.
- Dust and wipe surfaces from top to bottom.
- Clean walls, windows, and window tracks.
- Wipe cabinets, shelves, and countertops.
- Vacuum upholstery, curtains, and rugs.
- Clean air vents and exhaust fans.
- Mop floors with fresh cleaning solution.
- Replace HVAC or air purifier filters if needed.
- Repeat cleaning if fine dust continues to settle.
Following a structured checklist helps ensure no hidden dust is left behind while improving the overall cleanliness of your home.
Final Word
Cleaning after renovation isn’t just about making your home look tidy. Fine construction dust can affect air quality, settle into hidden spaces, and continue circulating if it isn’t removed properly.
By cleaning from top to bottom, using the right tools, and focusing on both visible and hidden surfaces, you can remove renovation dust more effectively and protect your home from long-term buildup. For larger projects or persistent dust, professional post renovation cleaning can provide a deeper, more thorough clean and help you enjoy your newly renovated space sooner.
FAQs
Start by ventilating the space, then clean from top to bottom using a HEPA-filter vacuum, damp microfiber cloths, and a suitable floor cleaner.
Fine construction dust stays suspended in the air before settling again. Multiple rounds of cleaning are often needed after major renovations.
Vacuum loose dust with a HEPA-filter vacuum where appropriate, then wipe surfaces with a damp microfiber cloth. Always clean higher surfaces before floors.
Fine dust from drywall, cement, and wood can irritate the eyes and respiratory system, making proper ventilation and protective equipment important during cleanup.
For large renovations, heavy dust buildup, or difficult-to-clean spaces, professional cleaning can provide more effective dust removal and improve indoor air quality.
Depending on the scale of the renovation and the cleaning methods used, fine dust can continue settling for several days, so repeated cleaning may be necessary.